My DSL provider TAL.de offers to assign a static and a dynamic IP address on PPPoE dial in. The dynamic IP address is the primary one, used for accessing the internet. Packets to the static IP address are routed to the router as well. Here’s how to set up things up on a Unifi Security Gateway (USG).
By default, USG only allows for one IP address when dialing in via PPPoE. If you want to forward packets received on an additional IP address, you can’t use the Port Forwarding functionality provided in the Unifi Network Controller. If you do, such packets will still be dropped.
Instead, you have to set up SNAT and DNAT firewall rules using a config.gateway.json file. Here’s how to set up SNAT and DNAT firewall rules for your USG to get your second (third, fourth …) IP address working:
1. Create (or extend) a config.gateway.json file
Place a file named config.gateway.json in the following path of your Unifi Network controller:
/unifi/data/sites/default/
You might need to replace “default” with the correct label of the affected site.
2. Add DNAT and SNAT rules to the config.gateway.json file
In the following example, TCP packets received on port 443 of IP address public.static.ip.address will be forwarded to port 443 of IP address private.internal.ip.address. Replace the values to match your demands.
{
    "service": {
        "nat": {
            "rule": {
                "3000": {
                    "description": "DNAT public.static.ip.address TCP/443 to private.internal.ip.address",
                    "destination": {
                        "address": "public.static.ip.address",
                        "port": "443"
                    },
                    "inbound-interface": "pppoe2",
                    "inside-address": {
                        "address": "private.internal.ip.address",
                        "port": "443"
                    },
                    "log": "disable",
                    "protocol": "tcp",
                    "type": "destination"
                },
                "5000": {
                    "description": "SNAT private.internal.ip.address TCP/443 to public.static.ip.address",
                    "log": "disable",
                    "outbound-interface": "ppoe2",
                    "outside-address": {
                        "address": "public.static.ip.address",
                        "port": "443"
                    },
                    "protocol": "tcp",
                    "source": {
                        "address": "private.internal.ip.address",
                        "port": "443"
                    },
                    "type": "source"
                }
            }
        }
    }
}
3. Trigger a provision of your new config to your USG
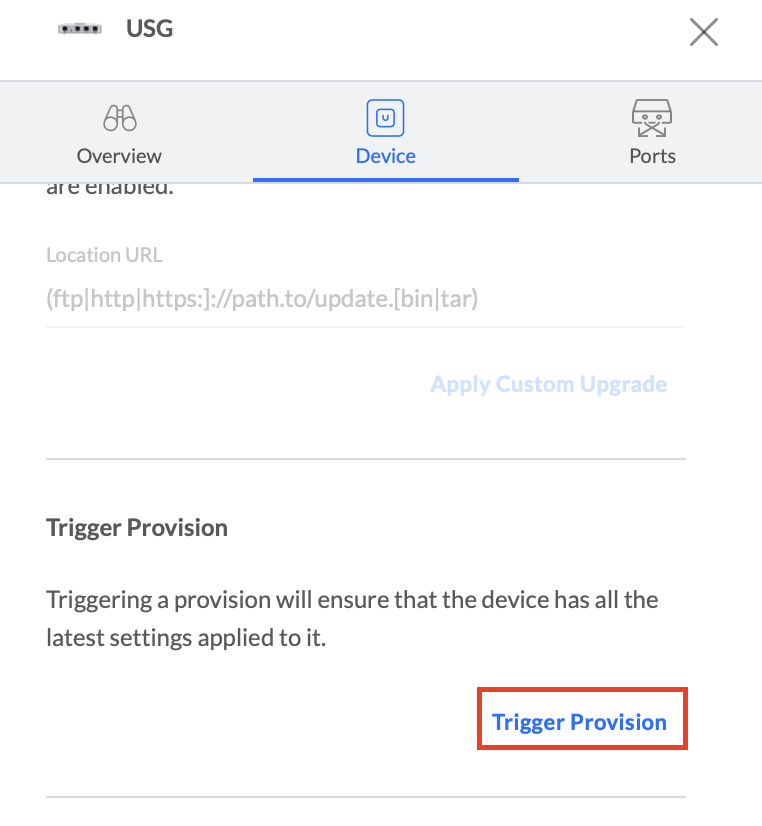
Log in to your Unifi Network Controller. Navigate to “Devices” and choose your Unifi Security Gateway. Go to “Device”, select “Manage” and click “Trigger Provision”.

4. Test your configuration
From a system outside your network, try to reach the configured port by using nmap, curl or a web browser.